
Explore our full collection here
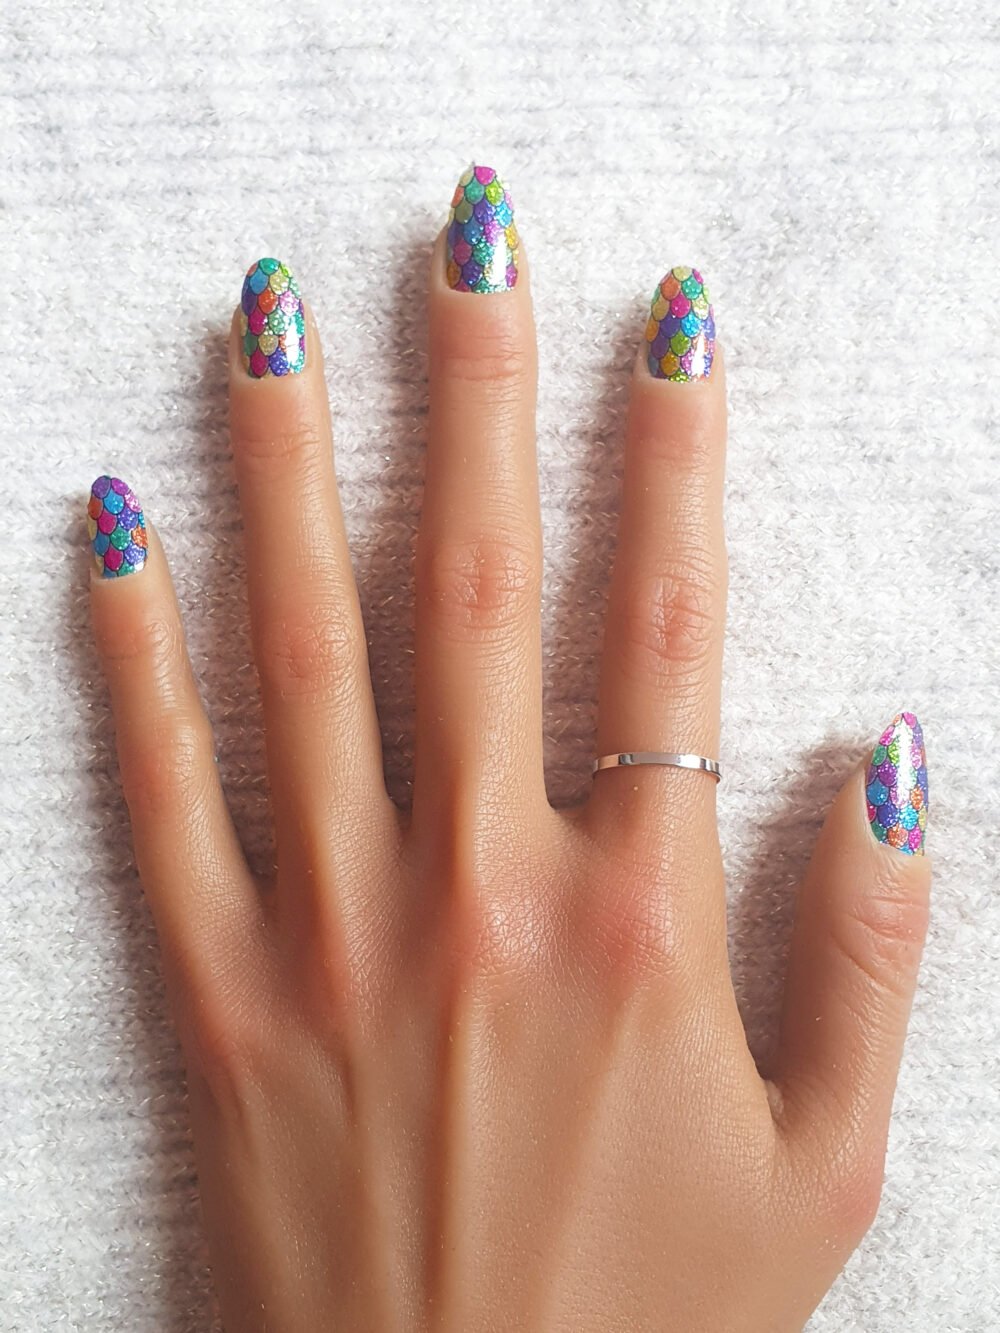
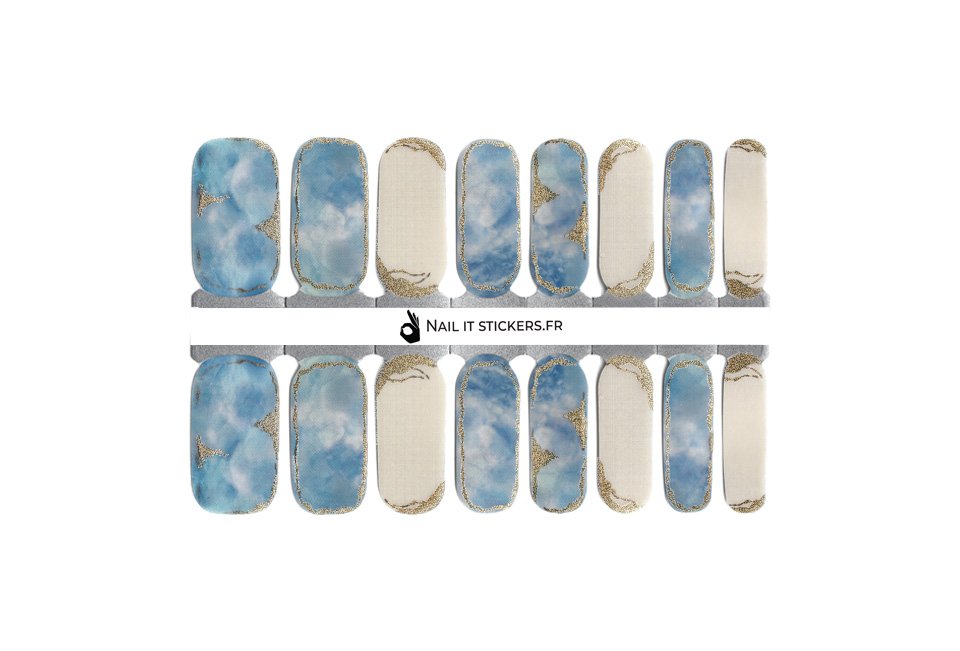
Manicure In The Sky With Lucy
- Finish: Translucent & Metallic
- Lasts for several weeks with a top coat
- Each sheet contains 16 nail stickers, enough for a full manicure and replacements if needed!
- Suitable for short, long, natural, and gel nails
- Both ends of the sticker can be applied
- Water-resistant
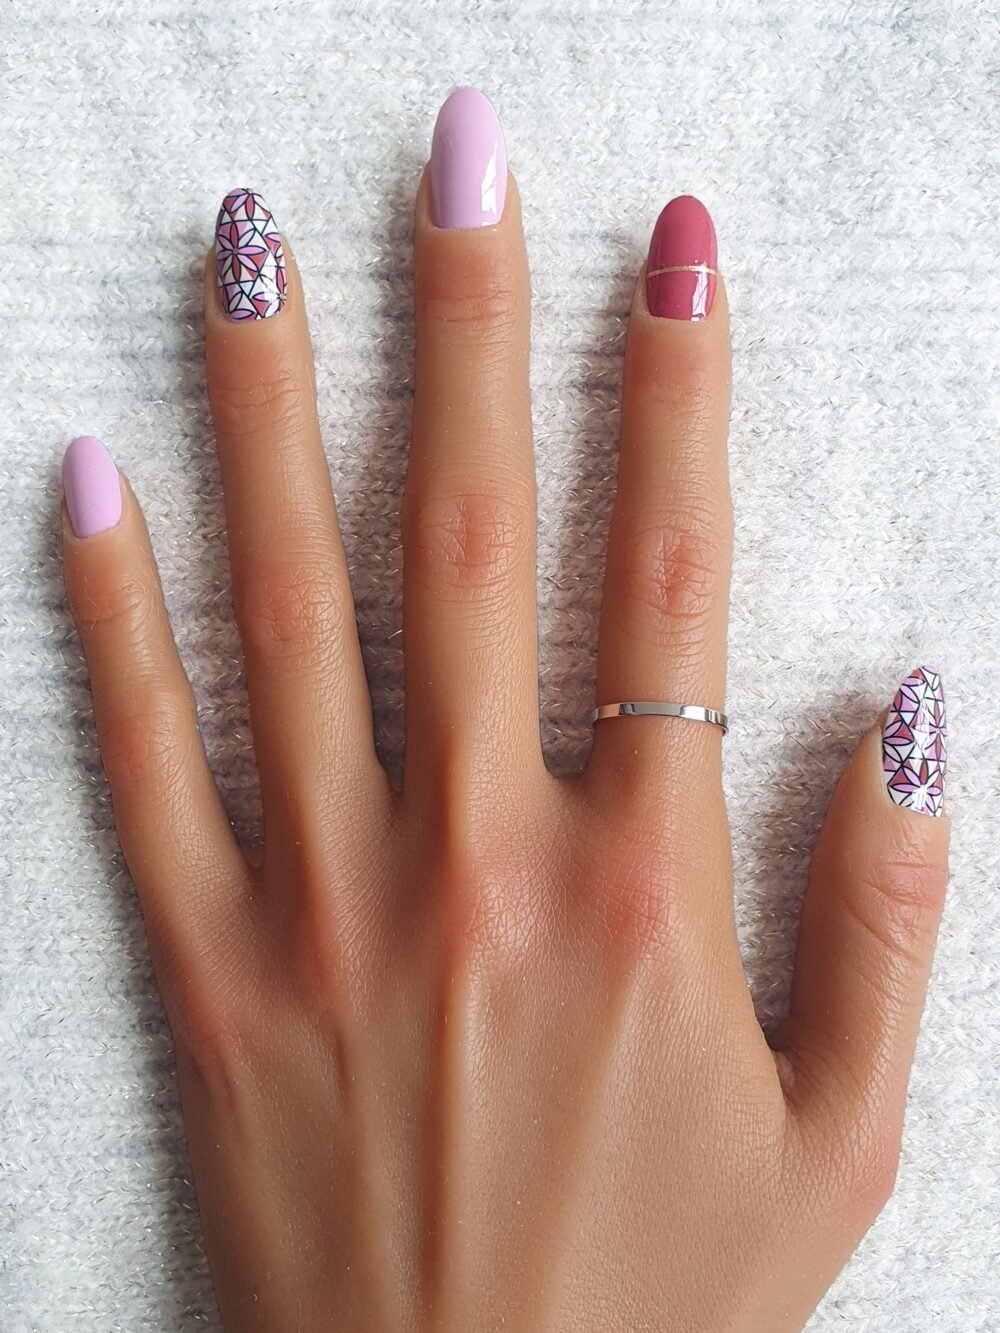
How to Create a Stained Glass Effect Using Jelly Gel Polish
Few nail art techniques capture light and color quite like stained glass. Just like the intricate windows you might see in cathedrals or vintage lamps, this style is all about luminous transparency and vibrant color. The beauty of jelly gel polish is that it is perfectly suited for this effect. Its translucent quality allows layers of color to overlap without becoming muddy, mimicking the way light filters through glass.
In this guide, we will walk through the process of creating a stained glass manicure with jelly gel polish, from choosing your colors to sealing your design. Whether you are a professional nail artist or an enthusiastic DIYer, this technique will bring a touch of art to your fingertips.
Why Jelly Gel Polish Works for Stained Glass Nail Art
The magic of jelly gel polish lies in its formula. Unlike opaque gels, jelly gels have a sheer, syrupy consistency that lets light pass through. This means you can apply multiple layers of different shades and still see the depth beneath.
When you think of stained glass, you picture clear divisions between colors and a luminous finish. With jelly gel polish, you can achieve both — the colors glow because they are translucent, and you can outline sections with darker lines to mimic the look of leaded glass.
Tools and Materials You Will Need
To create a stained glass manicure, gather the following items:
-
A selection of jelly gel polish in different colors
-
A base coat and top coat (gel versions for best durability)
-
A thin striping brush for outlines
-
Black gel paint or gel polish for the “lead” lines
-
UV or LED lamp for curing
-
Nail cleanser or alcohol wipes for removing tacky layers
-
Optional: fine glitter gel for added sparkle inside certain sections
Step 1: Prepare Your Nails
As with any gel manicure, start with clean, dry nails. Push back your cuticles, file your nails into your desired shape, and lightly buff the surface to help the gel adhere. Apply a thin layer of gel base coat and cure under the lamp according to the product instructions.
This step is essential because the base coat creates a smooth, even surface and helps the jelly gel polish last longer without lifting.
Step 2: Plan Your Design
Stained glass art usually features geometric sections or flowing curves filled with different colors. Before you start painting, decide on a pattern. You can sketch it on paper or simply improvise on the nail.
Popular options include:
-
Geometric panels like windows
-
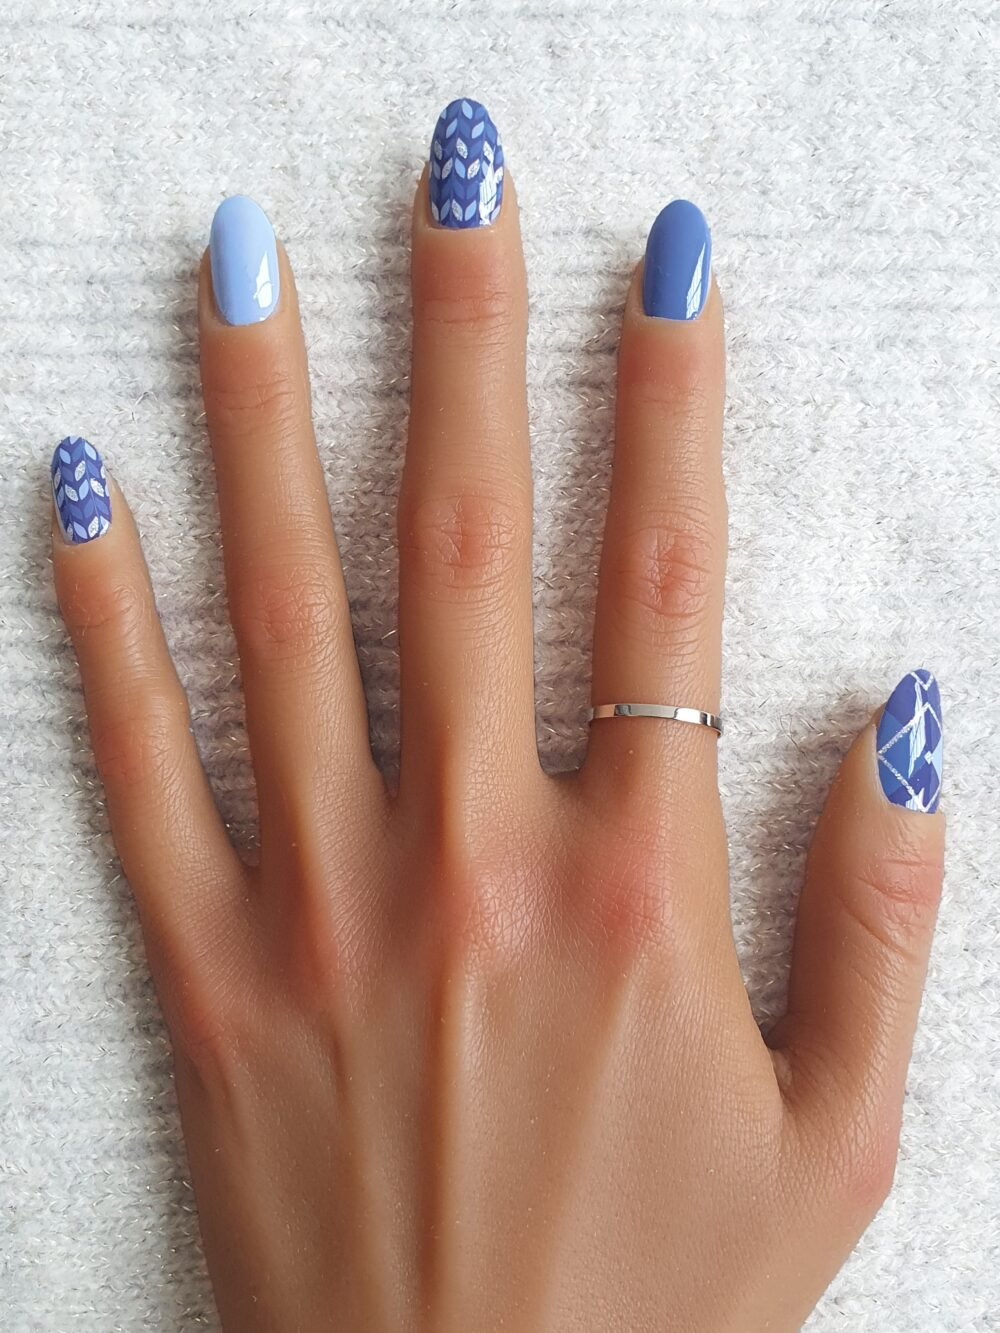
Floral motifs
-
Abstract swirls
-
Mosaic-style shapes
Remember that you will be outlining the sections in black later, so think about where those lines will go.
Step 3: Create the Outline
Using your thin striping brush and black gel paint, draw the lines of your design directly onto the cured base coat. These lines represent the “lead” framework in traditional stained glass. Cure under the lamp to set the outlines.
If you want a softer effect, you can use a dark brown or deep gray instead of black.
Step 4: Fill in the Sections with Jelly Gel Polish
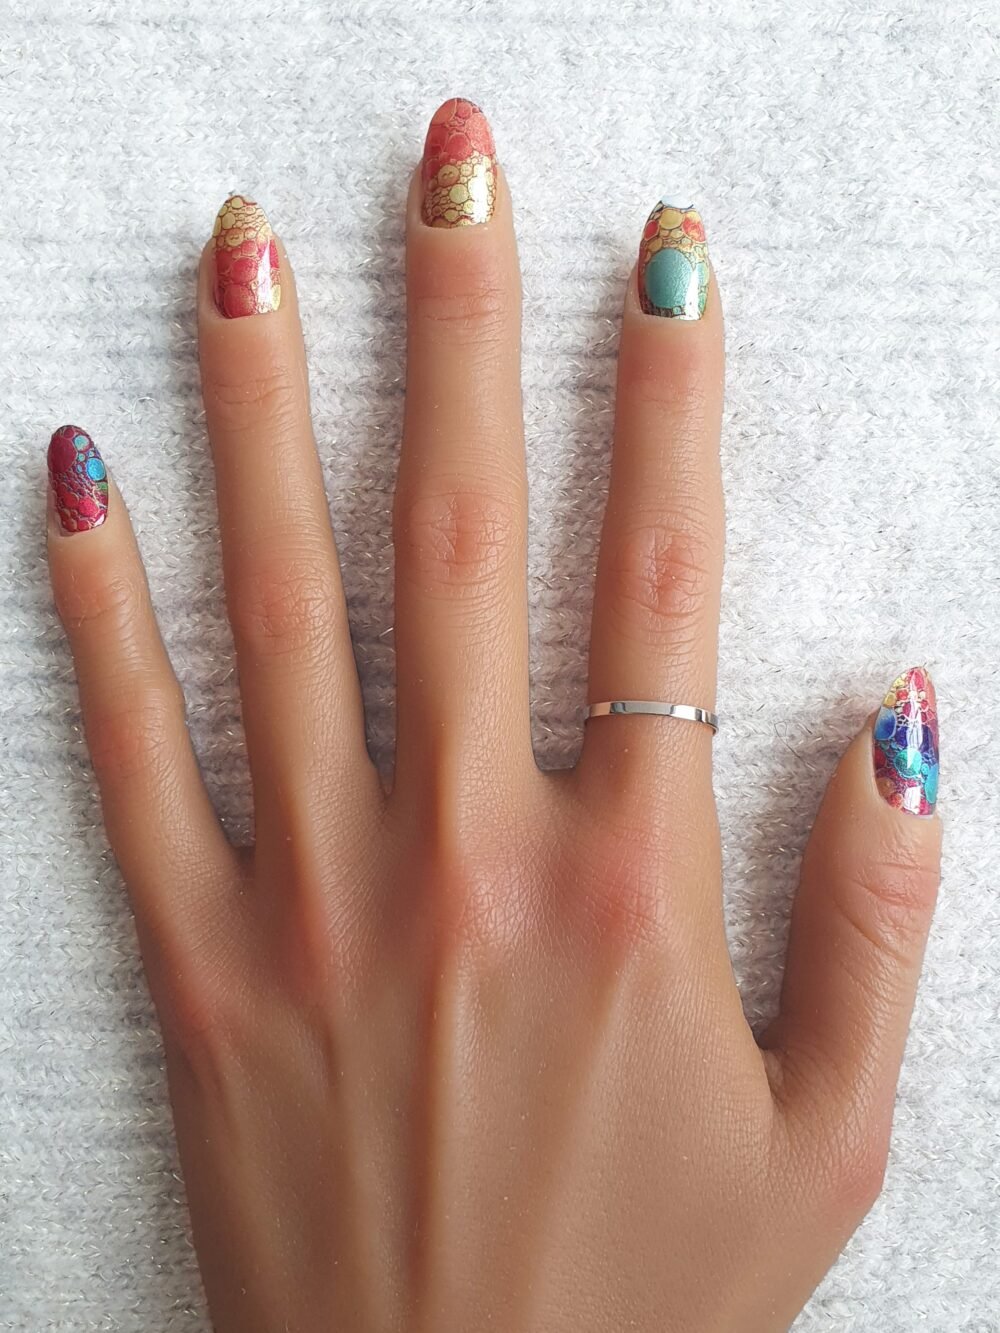
Here comes the fun part: coloring your stained glass. Choose your jelly gel polish shades and carefully paint inside each outlined section. Because the polish is translucent, you can layer two different colors to create new tones. For example, yellow over blue will give you a luminous green, just like mixing paint.
Work one or two nails at a time so you can perfect each section before curing. Use a fine brush if the section is small, and make sure to avoid painting over the black outlines.
Step 5: Add Depth and Details
If you want extra dimension, add a second layer of jelly gel polish in selected areas to make certain colors richer. You can also add a touch of fine glitter gel to some sections before sealing them — this gives the impression of textured or iridescent glass.
Once you are satisfied with the colors, cure your nails under the lamp.
Step 6: Reinforce the Outlines
Sometimes, the black lines may get slightly covered by your color application. To keep them sharp and defined, go over the outlines again with your striping brush and black gel paint. Cure again to lock in the detail.
This step makes the design look clean and professional, with crisp separation between colors.
Step 7: Seal and Shine
To finish your stained glass manicure, apply a generous layer of gel top coat. This seals in your artwork, smooths out the surface, and adds the high-gloss shine that makes jelly gel polish so beautiful. Cure the top coat, then wipe away any sticky residue with nail cleanser or alcohol.
When the light hits your nails, the colors will glow through the transparent layers just like real stained glass.
Tips for Perfecting Your Stained Glass Jelly Gel Manicure
-
Choose colors that contrast so each section stands out. Too many similar shades can make the design look flat.
-
Thin layers are key. Thick layers of jelly gel polish may lose transparency.
-
Experiment with overlaps. Applying one jelly color over another creates stunning custom tones.
-
Practice line work on a nail art mat before working directly on the nail.
-
Use quality products to avoid patchiness or uneven curing.
Creative Variations to Try
Once you master the basic technique, you can explore endless variations. A stained glass floral manicure is perfect for spring, while jewel-tone geometric panels work beautifully for autumn. You can also combine this technique with negative space, leaving parts of the nail bare to mimic clear glass.
For a festive twist, try using metallic gel for the outlines instead of black, giving your nails a gold or silver framework. This looks stunning for holiday parties and special occasions.
Why Stained Glass Designs Stand Out
The stained glass effect works so well with jelly gel polish because it combines two things nail art lovers adore: vibrant color and light play. The transparency of jelly polish makes the nails almost glow from within, while the dark outlines give structure and precision.
This style also looks impressive without requiring extreme difficulty — once you are comfortable drawing lines and coloring within them, the results are professional-looking. Plus, because no two stained glass pieces are ever identical, your nails will always have a unique touch.
Final Thoughts
Creating a stained glass effect with jelly gel polish is one of the most rewarding nail art techniques you can try. It is colorful, elegant, and surprisingly versatile. From simple geometric panels to elaborate floral patterns, the possibilities are limitless.
If you are looking for a manicure that truly turns your nails into miniature works of art, this is the technique to try. With a steady hand, the right tools, and your favorite jelly gel polish shades, you can carry a little piece of stained glass beauty with you wherever you go.